Tracheal Stenosis Stent
Code SET
Description
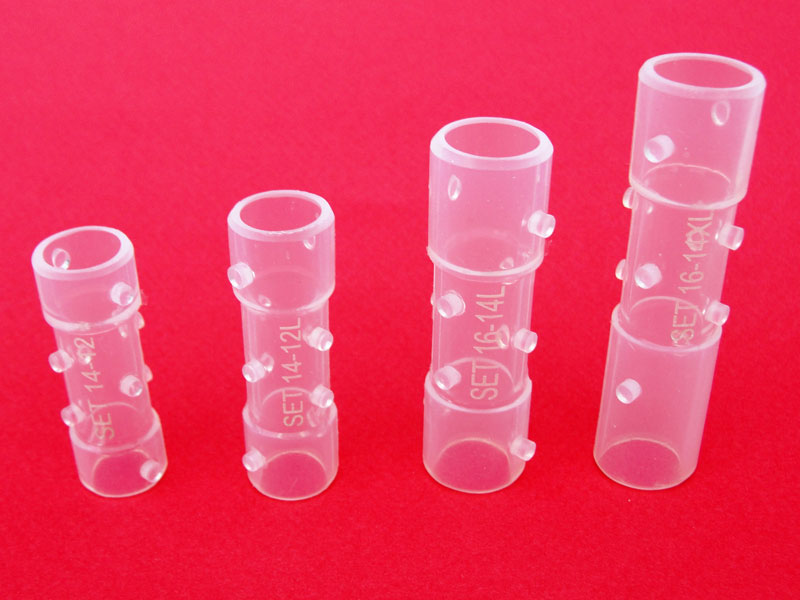
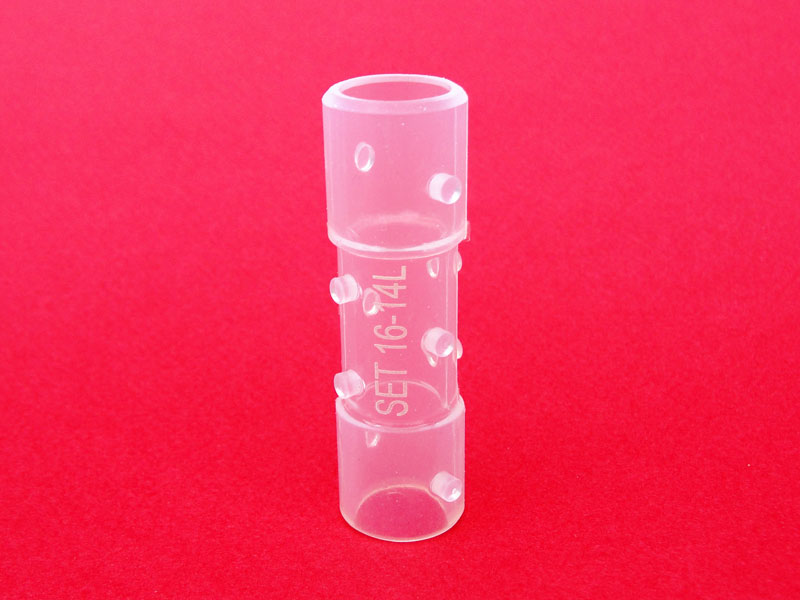
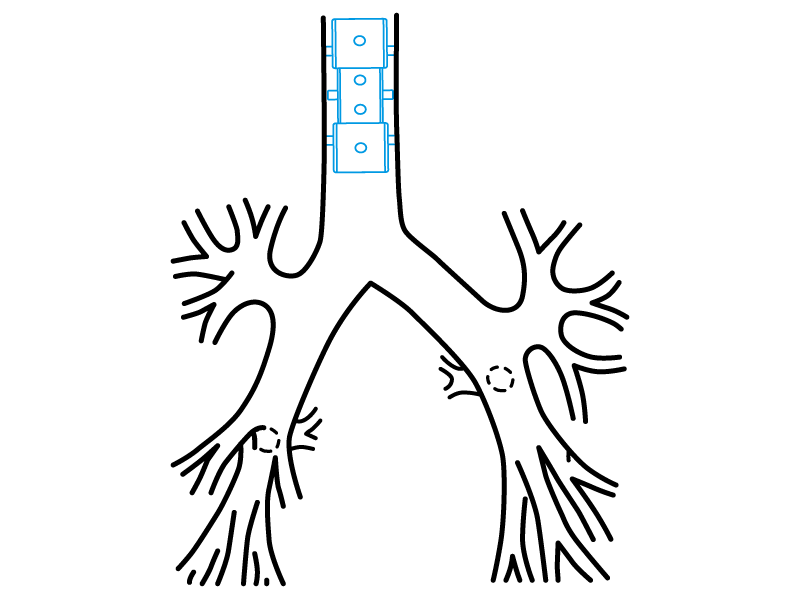
It is a tracheal stent of easy implant and removal. It is especially suitable for the benign stenosis treatment.
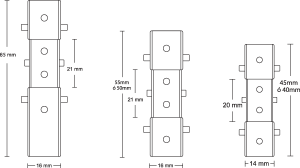
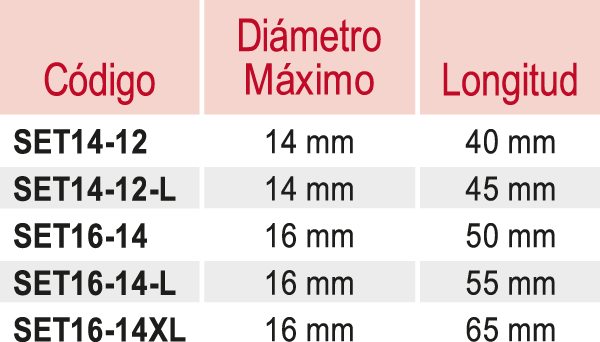
With a 14, 15 and 16 mm diameter on its edges and a 12, 13 and 14 mm diameter respectively on its central portion, constitutes a profile that increase the difficulty of its spontaneous displacement after being introduced.
The stents for tracheal stenosis (SET) have a 5 mm longer version: “L” (see table of dimensions).
These variants is how Stening® responds to the needs on treatment for special clinical situations.
- Simple tracheal stenosis
- Complex and long tracheal stenosis
- Stenosis combined with malacia or compression
- After laser resection, cryotherapy or electrocautery, to maintain the airway opened
- Post infectious stenosis (endobronchial tuberculosis, histoplasmosis mediastinal fibrosis, herpes virus, diphtheria)
- Post anastomosis surgical tracheal stenosis
- Architecture modifications, deformity, bending (senile trachea)
- Extrinsic compression
The introduction and removal techniques described for Stening® Tracheal Stent can be followed.
Introduction technique:
The procedure will take place under general anaesthesia.
The implant of these type of prostheses can be made directly through the work channel of the tracheoscope or bronchoscope.
A conventional introducer for silicone prostheses can be used as well. A rigid endoscope will be used to access the airway.
The length and diameter of the area that the stent will cover must be established correctly.
If you want to know the length of the area, you can mark the tracheoscope when its extreme is located at the end of the injury. Repeat the process once the tracheoscope is moved up to the beginning of the injury. The diameter of the trachea or bronchi must be estimated by comparing it with the diameter of the endoscope used.
Retrograde mode of Implant:
- Lubricate the introducer nozzle with lidocaine gel, preventing the lubricant from reaching the operator’s fingers.
- Fold the Stening® over its axial axis and put it inside the prostheses introducer through its nozzle.
- Remove the nozzle.
- Surpass the injured area with the tube of the tracheoscope and put its distal edge over the healthy mucosa, exceeding from 5 to 7 mm the affected zone.
- Put the introducer inside the tracheoscope.
- Press the ejector while the tracheoscope is removed and the ejector plunger progresses. That is, the plunger of the stents’ charger has to be pressed as the endoscope is removed.
In this way, the prosthesis will be released. If it is necessary, it can be moved to a better position with an alligator forceps. The manoeuvre is much easier when the stent is lower than the injury.
Antegrade mode of implant:
Steps 1 to 3 will be repeated.
You have to stop the tracheoscope that contains the introducer and the prosthesis 5 mm before the injury.
After that, you have to press the ejector plunger slowly. By doing this, the prosthesis will be expelled into the injured trachea.
Some stents’ charger models are not introduced inside the tracheoscope, but they are added to the proximal extreme, from where the stent is expelled. To accomplish this, the endoscope will have to be stopped in a proximal or distal way to the injury, as it was explained before, to push the prosthesis with the plunger that is provided with the endoscopic instrumental. In this way, the stent will travel through the tracheoscope until it reaches the trachea. At this point, we will feel a small reduction of the resistance in the pressure performed on the plunger, showing that the stent has begun to abandon the endoscope interior.
Correction of the stent position:
The stent may require some additional manoeuvres, focusing on correcting or adjusting its final position.
It is preferable to correct stent that has been installed beyond the desired position than the opposite, due to the arduousness of pushing a stent that has been released before the damaged zone.
To move a stent in a proximal way, it can be taken by its edge and then you must pull with kindness.
To be more accurate we recommend a manoeuvre that consists on taking the stent by its edge as it was mentioned before. After that, you have to advance with the optical vision through the stent’s inside until you see its ending. Now pull the forceps and you will be able to see how the stent ascends through the airway.
Stop the pulling as long as you consider that the position is correct.
Extraction technique:
We will proceed to the intubation with the tracheoscope or the rigid bronchoscope depending on the case.
Of easy extraction, the silicone stent must be taken by its proximal edge with a crocodile forceps, with enough steadiness. Rotate the forceps 360º so that the stent bends, acquiring an omega shape and losing its radial resistance to compression. Then, pull the forceps and extract the prosthesis together with the tracheoscope.
The stent proximal edge can be introduced inside the tracheoscope. With this manoeuvre the vocal chords are protected during the extraction.
Other implant and removal methods are also possible depending on the experiences and preferences of the surgeon.
- Maintain the moisture of secretions, whenever they appear, by taking nebulisations frequently with a warm isotonic saline solution.
- Perform a periodic check-up following your doctor’s advice.
- Take care of your oral hygiene and treat cavities.
The product should not be reused because this can cause cross contamination.


