Bronchology · Special prosthesis

Stening® Class

Anatomical bronchial stent with a double-conical shape, graduated wall resistance and enhanced fixation capacity. Indicated for anatomies with marked changes in caliber.

Product code: CLASS
Conical anatomical bronchial stent in silicone Stening® Class (CLASS)
Conical bronchial stent in silicone Stening® Class, 30 mm version
Conical bronchial prosthesis Stening® Class, 50 mm version
Suggested use of the Stening® Class in the tracheobronchial tree
Bronchology · Special prostheses

Stening® Class

Code CLASS

The Stening® Class —also known as a conical bronchial stent or anatomical stent— is a device intended to keep the airway lumen open in conditions sufficient for ventilation. It has an elastic double-conical tubular structure, with anti-slip spurs arranged linearly in several rows and distributed across its diametrical surface in a symmetrically opposed pattern.

Graduated resistance: to accompany the functionality and physiology of the bronchus, its wall resistance decreases progressively toward the distal end at a rate of 3% per centimeter of stent length. Enhanced fixation capacity: this property is favored by the existence of fixations aligned against the direction of possible unwanted displacement, whose number doubles those present in the straight stent model.

Material
Biocompatible silicone
Line
Bronchology
Presentations
Ø 10 to 14 mm · 30 to 50 mm
Technical specifications

Product information

Review the indications, available dimensions, instructions for use, care and warnings of the Stening® Class.

Clinical indications

The Stening® Class is indicated to maintain airway patency in various obstructive and stenosing bronchial conditions.

  • Bronchial neoplasms.
  • Neoplasms invading the tracheal carina or its slopes.
  • Imminent atelectasis.
  • Following laser photoresection, cryotherapy or electrocautery, to maintain airway patency.
  • Bronchial stenosis.
  • Post-infectious stenosis (tuberculosis, histoplasmosis with mediastinal fibrosis, herpes virus, diphtheria).
  • Post-traumatic stenosis.
  • Stenosis following end-to-end surgical bronchial anastomosis.
  • Bronchial rupture.
  • Extrinsic compression.
  • Bronchomalacia.
  • Bronchial amyloidosis.
  • Excessive dynamic airway compression.
  • Invasion of the main bronchi by esophageal carcinoma.
  • Following endoscopic resection of bronchial metastases.

Available dimensions

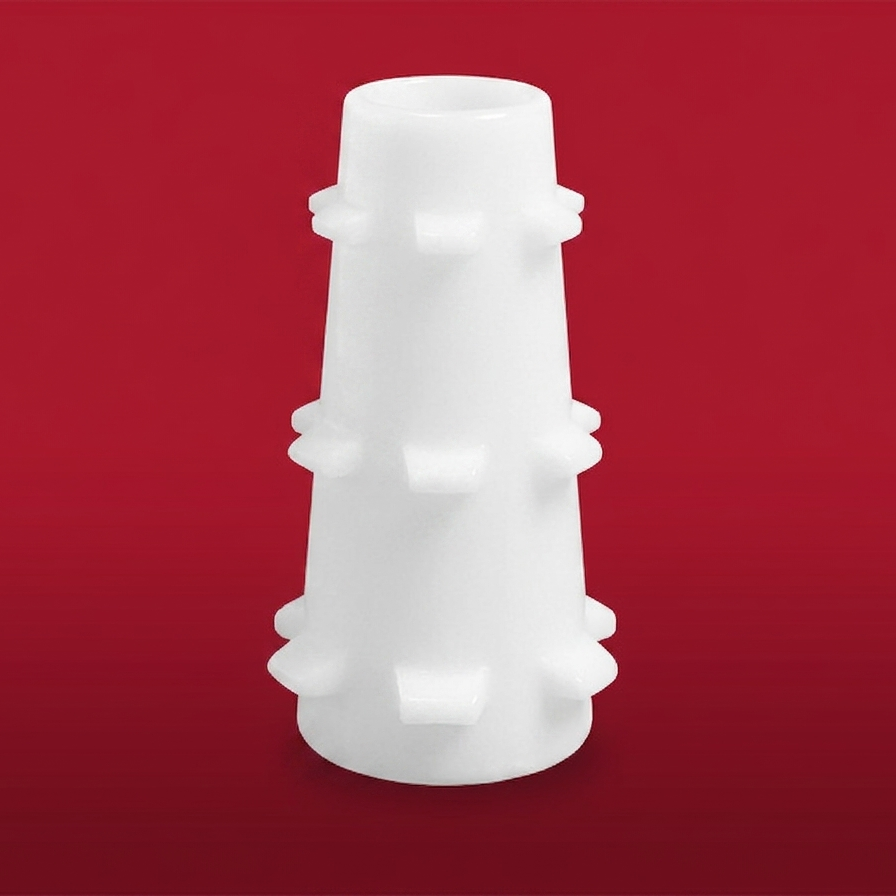
The Stening® Class is offered in a wide range of sizes, with diameters from 10 to 14 mm and lengths from 30 to 50 mm. The code indicates the diameter and length (for example, CLASS 12-40 corresponds to a 12 mm diameter and a 40 mm length).

Scheme of the Stening® Class with its double-conical structure and anti-slip spurs
CodeDiameterLength
CLASS 10-3010 mm30 mm
CLASS 10-4010 mm40 mm
CLASS 10-5010 mm50 mm
CLASS 11-3011 mm30 mm
CLASS 11-4011 mm40 mm
CLASS 11-5011 mm50 mm
CLASS 12-3012 mm30 mm
CLASS 12-4012 mm40 mm
CLASS 12-5012 mm50 mm
CLASS 13-3013 mm30 mm
CLASS 13-4013 mm40 mm
CLASS 13-5013 mm50 mm
CLASS 14-3014 mm30 mm
CLASS 14-4014 mm40 mm
CLASS 14-5014 mm50 mm

All sizes are always available. For specific inquiries about instrumentation, bronchoscopes or introducers, contact us at (+54) 11 4553-5070 or (+54) 11 4551-2333.

Introduction technique

The procedure is carried out under general anesthesia. The implantation of this type of prosthesis requires the use of a conventional introducer for silicone prostheses. The airway is accessed with a rigid bronchoscope.

The length and lumen of the trachea or bronchus in the segment where the stent will be placed must be estimated in order to make the correct choice of prosthesis.

Retrograde implantation mode
  1. Lubricate the introducer nozzle, avoiding that the lubricant reaches the operator’s fingers.
  2. Fold the Stening® Class along its axial axis and insert it into the prosthesis introducer through the nozzle, with the narrowest end of the stent in the distal position.
  3. Remove the nozzle.
  4. Pass beyond the lesioned area with the bronchoscope tube and place its distal end or bevel over the healthy mucosa, exceeding the affected zone by about 5 to 7 mm.
  5. Place the introducer inside the bronchoscope.
  6. Press the ejector while withdrawing the bronchoscope by the same amount as the plunger advances inside it.

The prosthesis is thus released. If necessary, it can be adjusted with alligator forceps, the maneuver being simpler if the stent lies more “below” the lesion.

Anterograde implantation mode

Steps 1, 2 and 3 are repeated. Now stop the bronchoscope containing the introducer and the prosthesis 5 mm before the lesion to be treated, and then slowly press the ejector plunger. In this way the prosthesis will advance into the bronchial area to be treated.

A prosthesis loader may be used to then push it through the interior of the bronchoscope, or whatever method the operator deems preferable.

Correcting the stent position

The stent may require additional maneuvers in order to correct or adjust its final position. It is preferable to correct a stent that has been placed beyond the desired position than the reverse, since it is highly inconvenient to advance a prosthesis that has been released before the lesion to be treated.

To move a stent proximally, it can be grasped by the edge and gently pulled. We strongly recommend, for its precision, a maneuver consisting of grasping the stent by its edge as mentioned, and then introducing the direct-vision optics inside the stent and observing its end. Now pull the forceps and you will be able to verify the ascent of the stent within the bronchus. Stop the traction when you believe the stent position is optimal.

Removal technique

Intubation is performed with a rigid bronchoscope. Easy to remove, the stent should be grasped by its edge with alligator-type forceps, firmly enough. Rotate the forceps so that the stent takes on an omega shape and loses its radial resistance to compression. Then pull the forceps, extracting the prosthesis together with the bronchoscope. If preferred, the end of the stent can be introduced inside the endoscope; with this maneuver the vocal cords are protected during removal.

Post-implantation care

Recommendations for the follow-up of patients with a bronchial stent.

  • Maintain the moisture of secretions when present, performing frequent nebulizations with warm isotonic saline solution.
  • Periodic check-up according to medical criteria.
  • Treat dental cavities and maintain effective oral hygiene.

Use warning

Important

The Stening® Class is an anatomical stent, slightly conical in shape. Therefore:

  • Remember that the stent must always be introduced inside the bronchoscope with the larger-diameter end in the proximal position, and the narrowest end in the distal position.
  • If it is necessary to shorten the stent, it is preferable to make the cut close to its distal end, that is, near the smaller-diameter end.
  • In the Class LSD models, when loading the stent into the introducer or the bronchoscope, remember to orient the lateral hole of the stent toward the entrance of the right upper lobar bronchus, which is usually located at 3 o’clock. Verify this position beforehand during the bronchoscopic examination and once more after implantation.
  • The product must not be reused.
Also known as: conical bronchial stent · anatomical stent · conical bronchial prosthesis · double-conical stent · CLASS

Need more information
about this device?

Contact us for personalized technical advice, size selection, custom manufacturing or inquiries about international shipping.

Chat on WhatsApp